


今回解説していく内容は以下です!
本記事の内容
・category.phpを作ってみよう
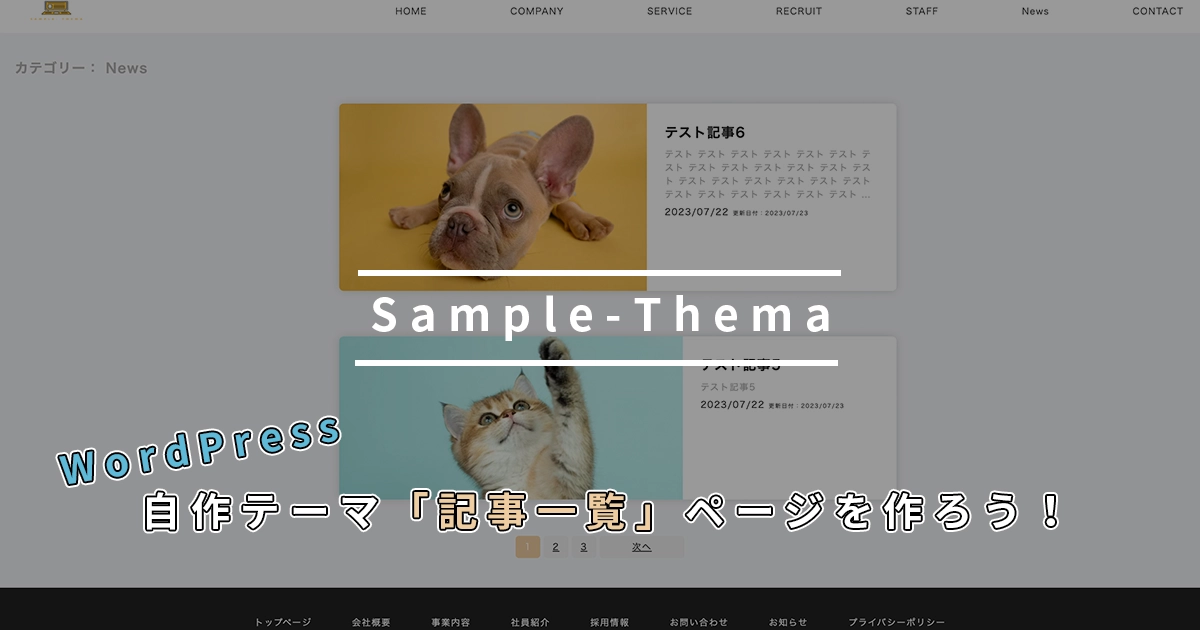
WordPress 自作テーマ「記事一覧」ページを作ろう!
今回やっていくことは、「投稿で作った記事を一覧表示する」方法と記事が複数ある場合は「ページネーションさせる」方法についてざっくり説明します。
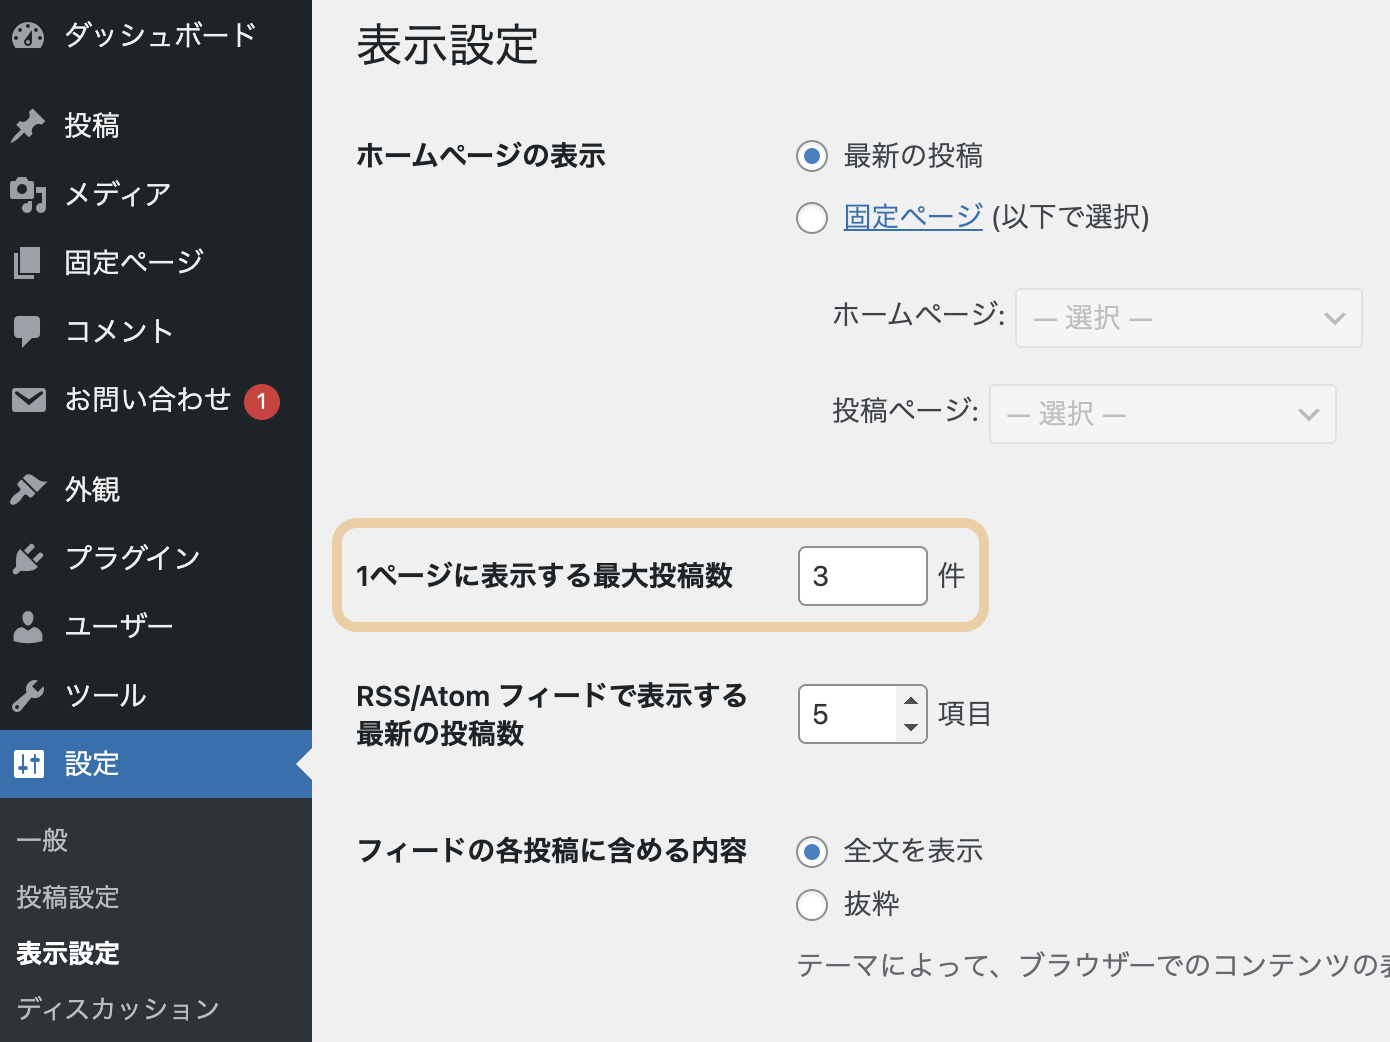
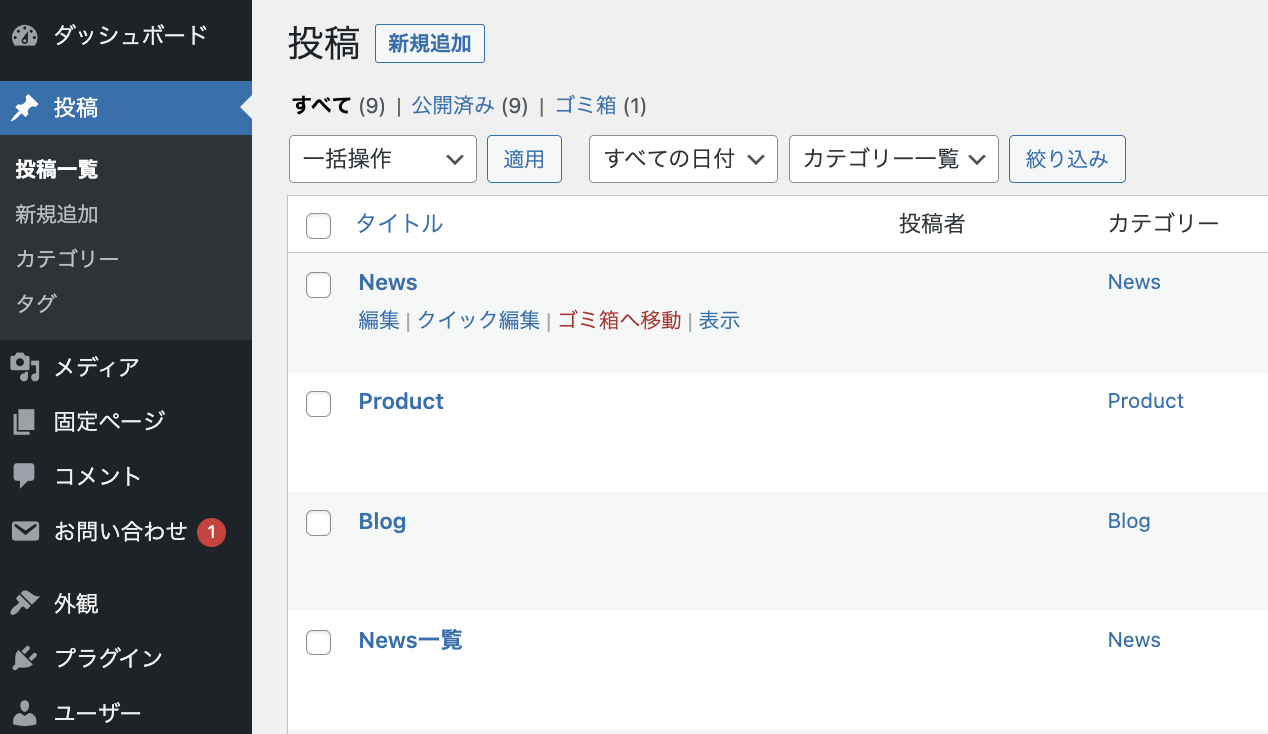
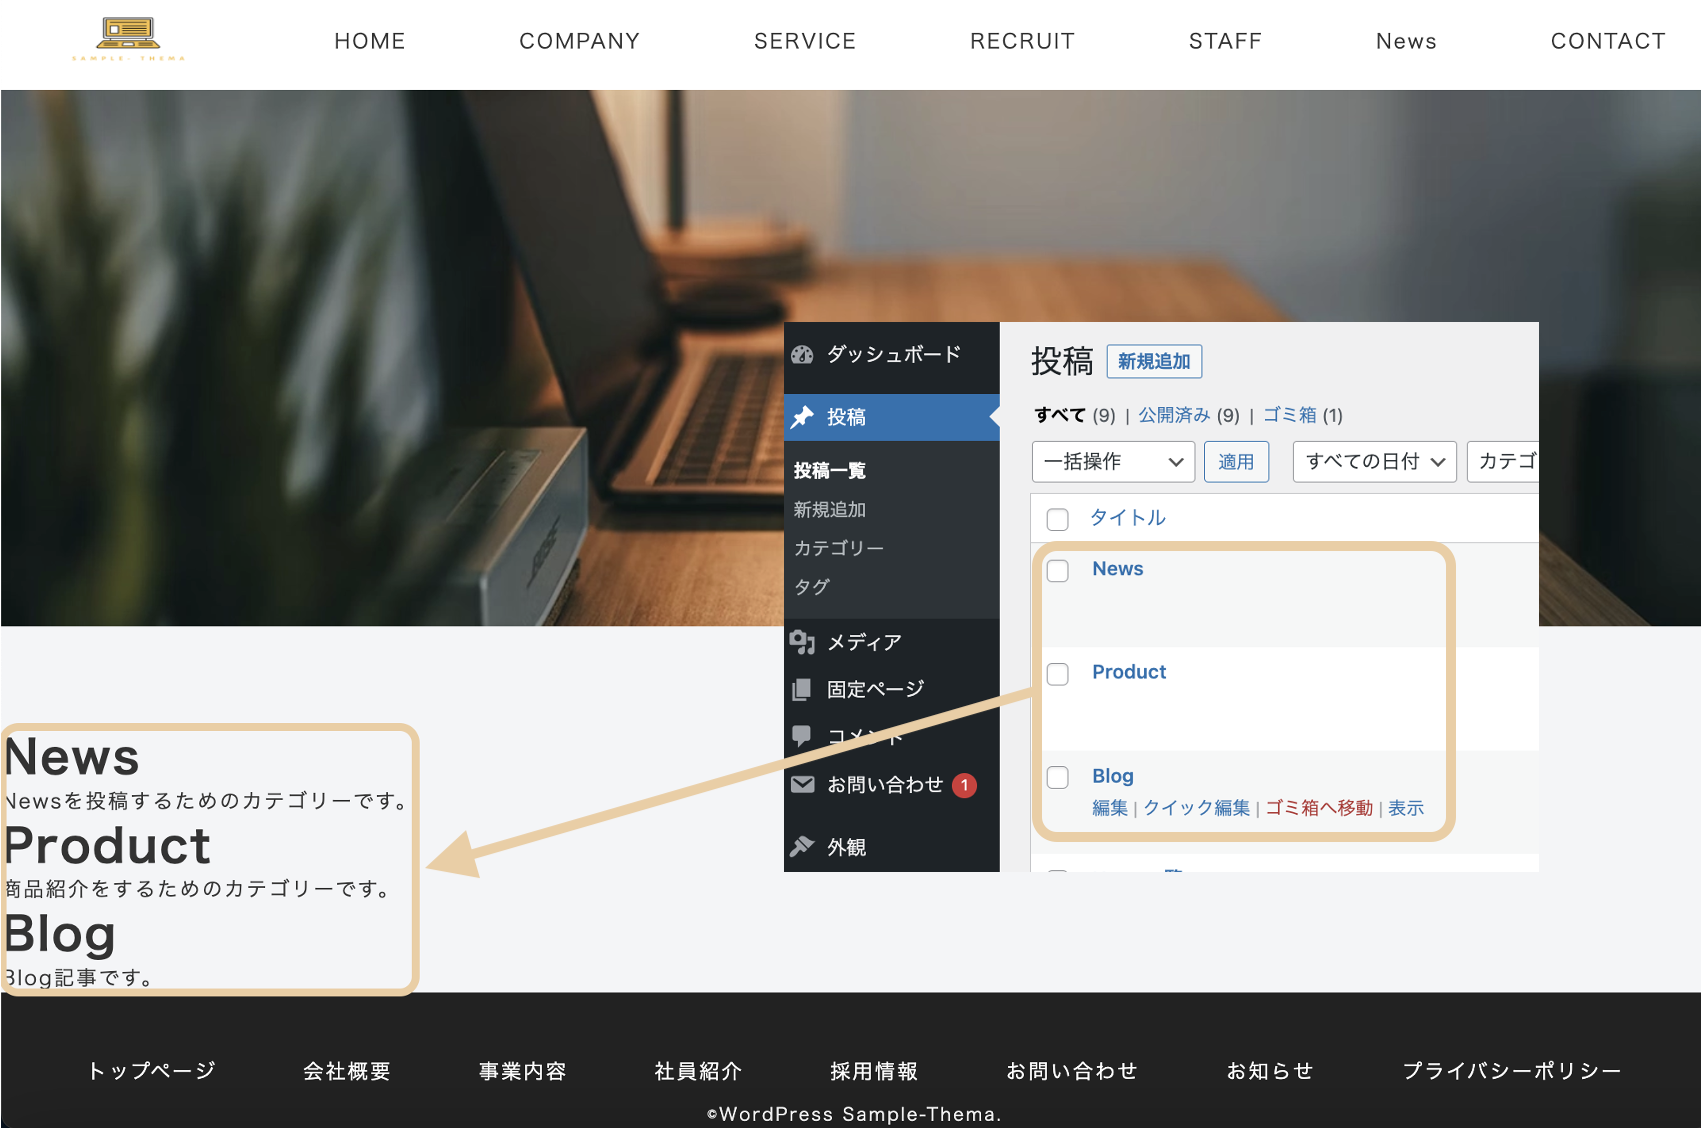
投稿一覧には、テスト記事を用意してカテゴリーも複数作ってみてください。
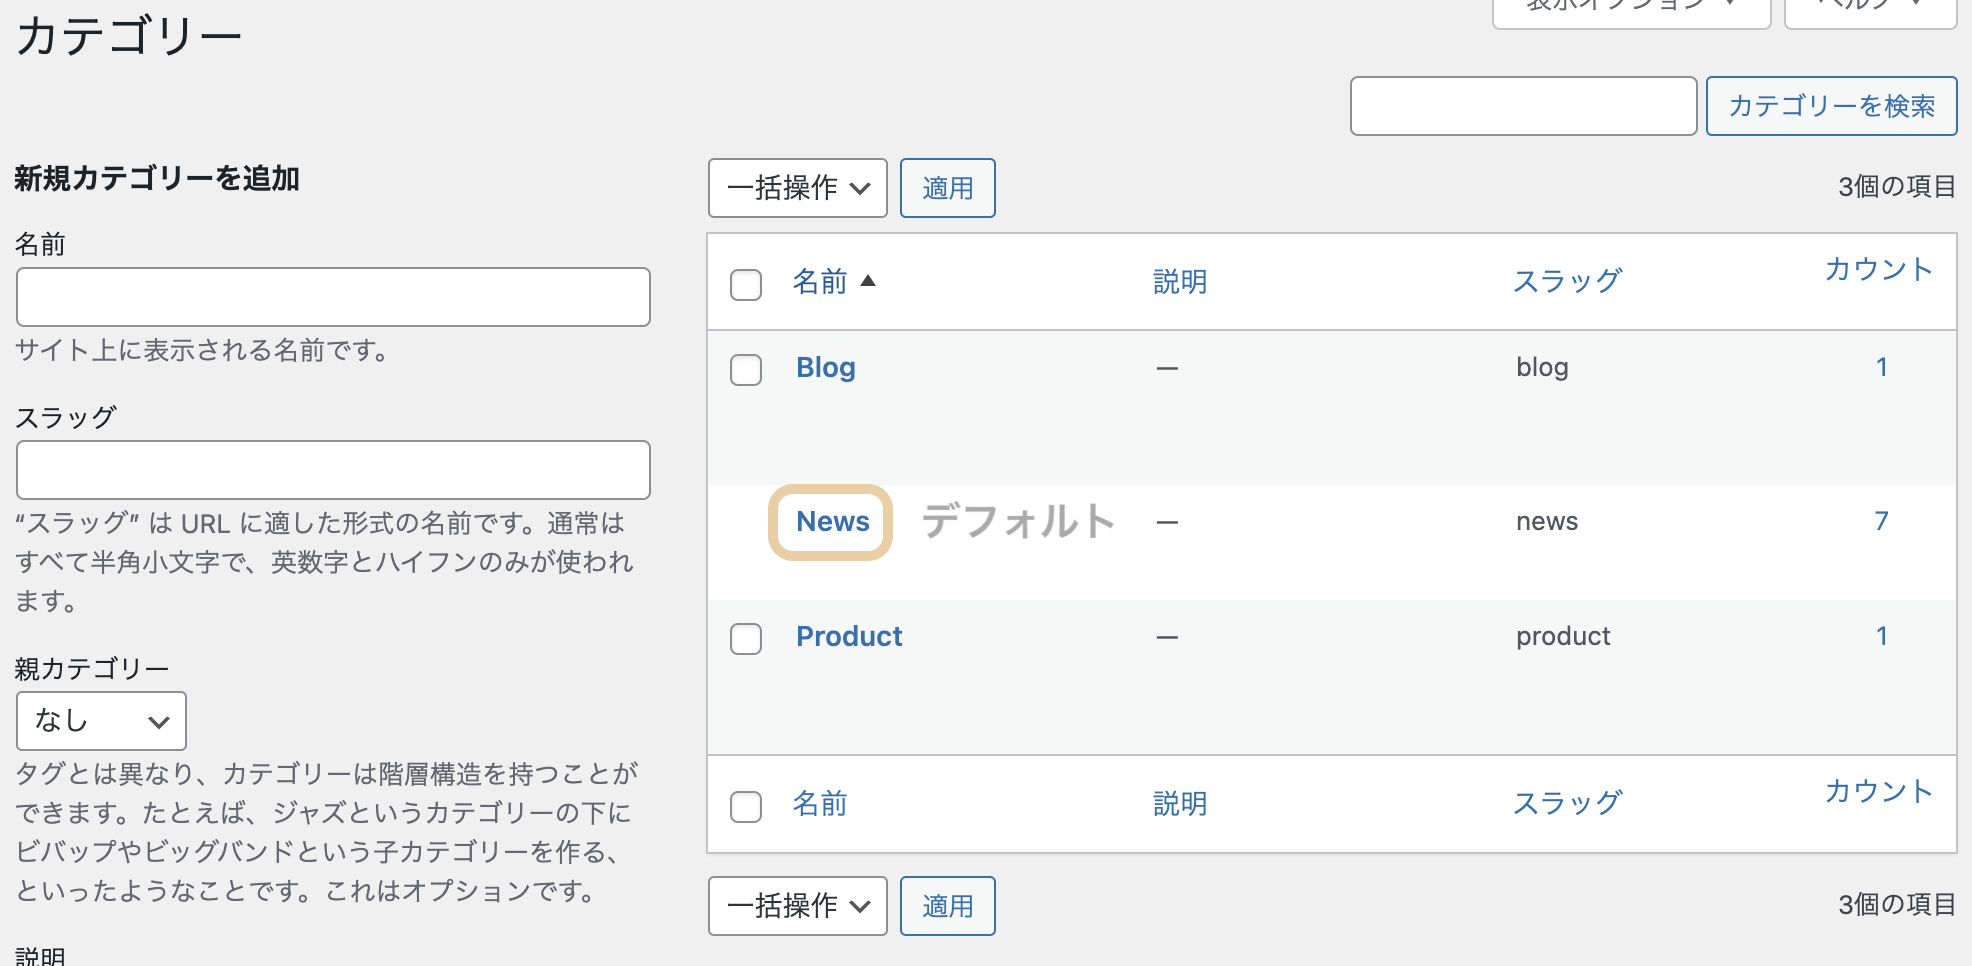
「Sample-Thema」は企業向けのテンプレとして作っているため、デフォルトのカテゴリーを「News」にしています。
後ほど、category.phpを追加して特定のカテゴリー一覧を表示する方法もお伝えします。
記事一覧を作ろう
WordPressで記事を取得するには、下記のコードを表示させたい場所に記載します。
< ?php if(have_posts()): while(have_posts()): the_post(); ?>
<!–ループ内で表示させたい内容を記述–>
< ?php endwhile; endif; ?>
<?php if (have_posts()) : while (have_posts()) : the_post(); ?>
<!–ループ内で表示させたい内容を記述–>
    <h2><?php the_title(); ?></h2>
    <div><?php the_content(); ?></div>
<?php endwhile; else : ?>
    <p>記事がありません。</p>
<?php endif; ?>

index.php
<?php get_header(); ?>
<main>
    <div class="top-img"></div>
</main>
  <section class="blog-list">
    <div class="blog-list__container">
      <div class="blog-list__list">
        <article class="blog-list__list-item">
          <?php if (have_posts()):
            while (have_posts()):
              the_post(); ?>
              <div <?php post_class("post-wrap"); ?>>
                <div class="blog-item__content">
                  <a href="<?php the_permalink(); ?>" class="blog-item">
                    <figure class="blog-item__thumbnail">
                      <?php if (has_post_thumbnail()): ?>
                        <img class="blog-item__thumbnail-image" <?php the_post_thumbnail(array(1200, 630)); ?>
                        <?php else: ?>
                          <img src="<?php echo get_template_directory_uri(); ?>/imges/no-img.png" alt="NoImage">
                      <?php endif; ?>
                    </figure>
                    <div class="blog-item__content">
                      <h3 class="blog-item__title">
                        <?php the_title(); ?>
                      </h3>
                      <div class="blog-item__read">
                        <?php
                        if (mb_strlen(get_the_excerpt()) > 100) {
                          $excerpt = mb_substr(get_the_excerpt(), 0, 100);
                          echo $excerpt . '...';
                        } else {
                          echo get_the_excerpt();
                        }
                        ?>
                      </div>
                      <div class="post-date">
                        <span class="post-date-write">
                          <?php the_time("Y/m/j") ?>
                        </span>
                        <?php if (get_the_modified_time('Ymd') != get_the_time('Ymd')) {
                          echo '<span class="post-date-modified">更新日付:<time>' . get_the_modified_time('Y/m/d') . '</time></span>';
                        } ?>
                      </div>
                    </div>
                </div>
                </a>
            </article>
            <div>
            <?php endwhile; else: ?>
          <div class="post-wrap">
            <p>記事が見つかりません</p>
          </div>
        </div>
      </div>
      <?php endif; ?>
  </section>
<?php get_footer(); ?>
ループ内で行っている処理を抜粋して説明すると…
<?php the_permalink(); ?>
投稿ページのパーマリンクのURLを取得
<?php the_post_thumbnail(array(1200, 630)); ?>
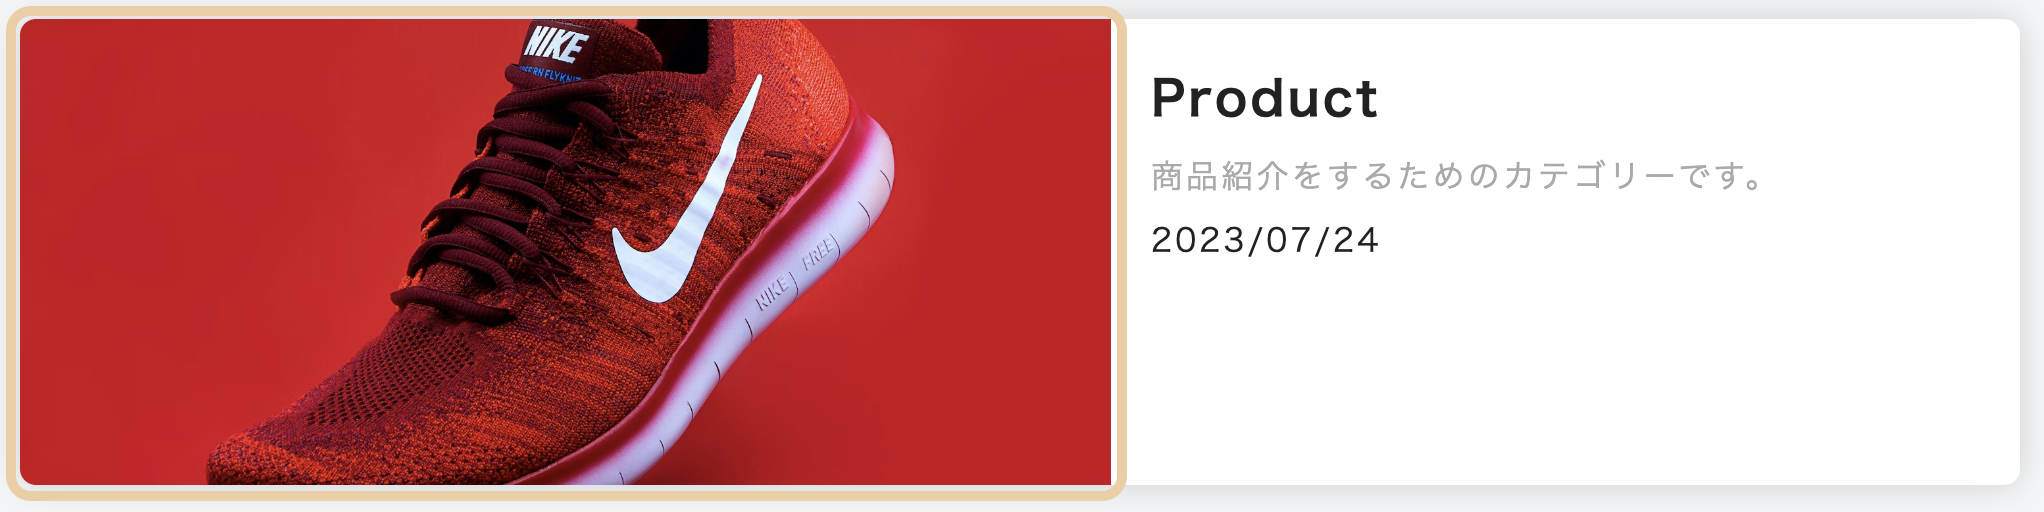
アイキャッチ画像の取得
mb_strlen(get_the_excerpt()) > 100
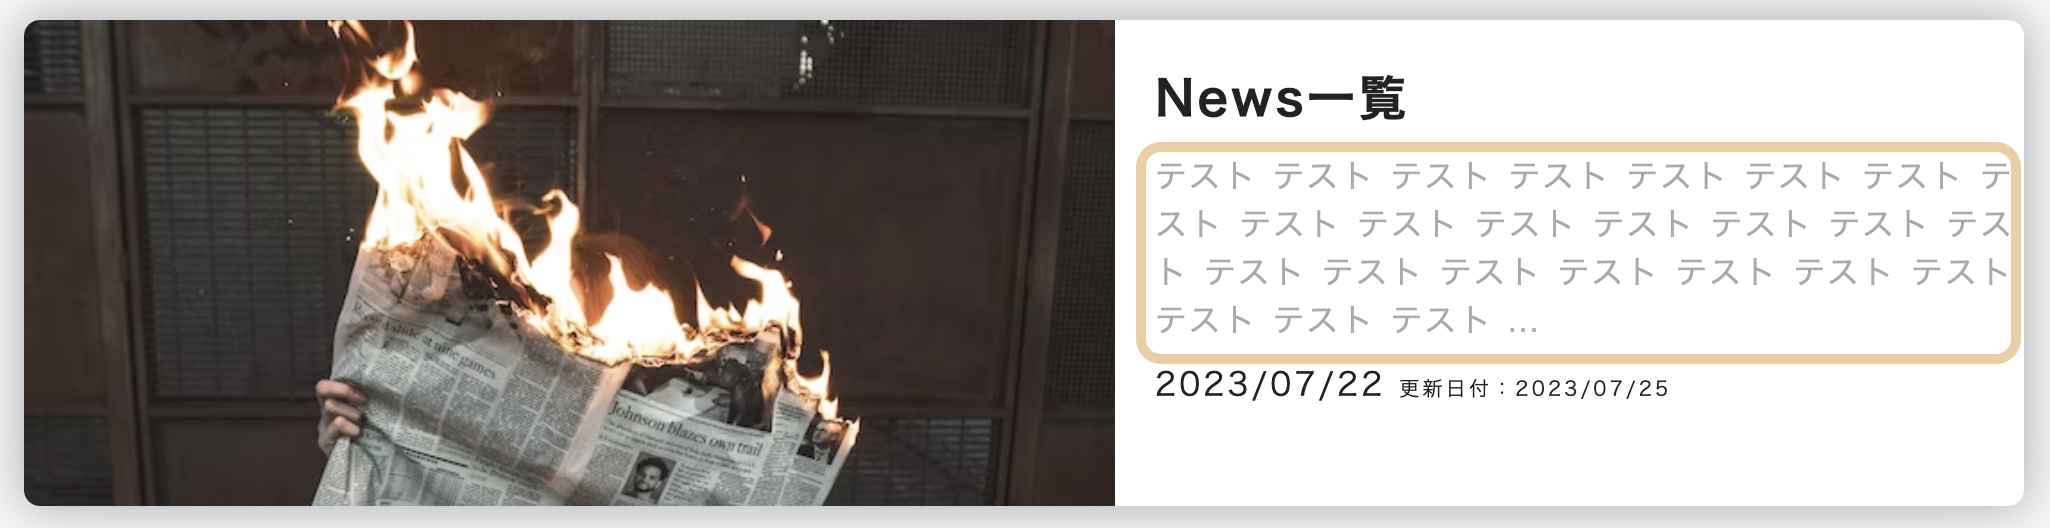
投稿した記事の本文を抜粋し、100文字以上は…で表示するように設定
<?php the_time(“Y/m/j”) ?>
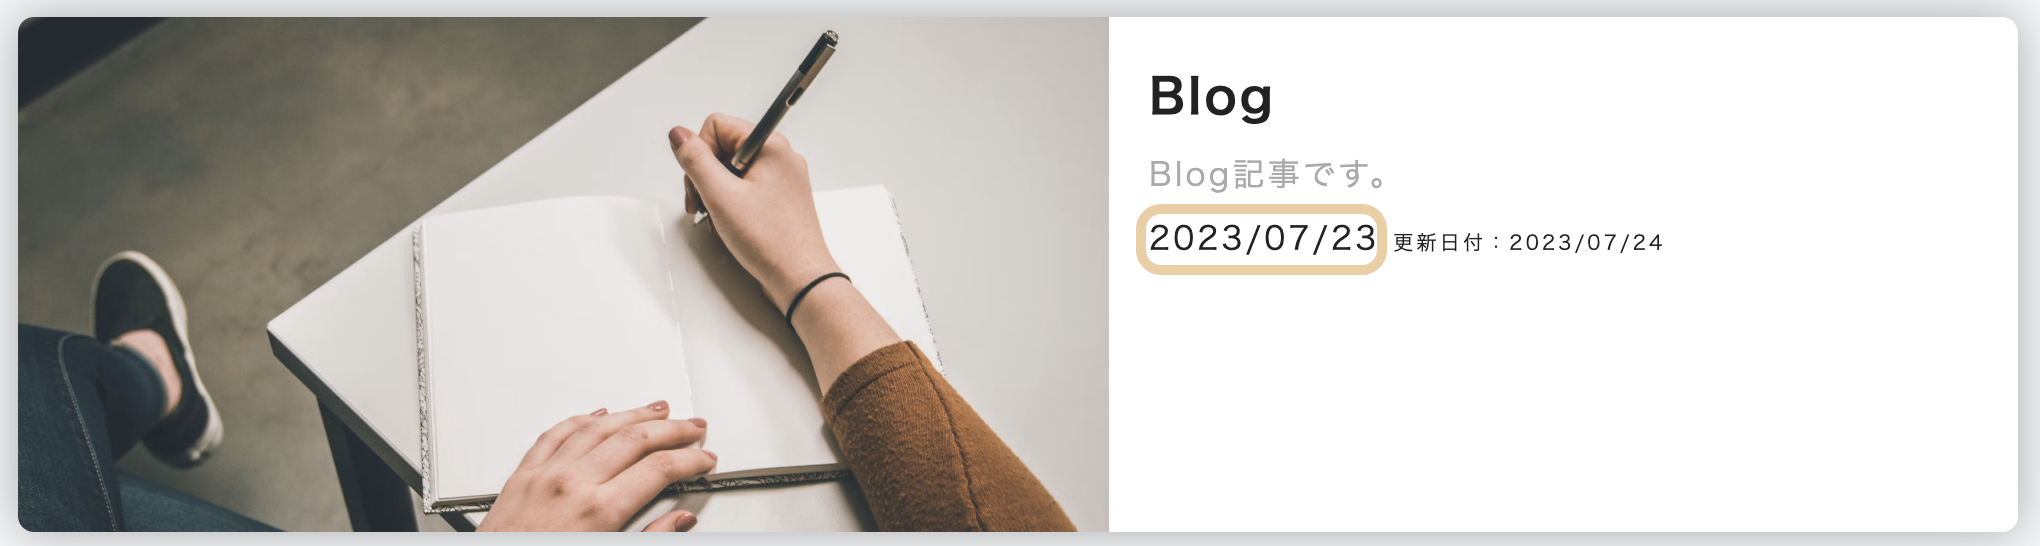
更新日付の取得
if (get_the_modified_time(‘Ymd’) != get_the_time(‘Ymd’))…
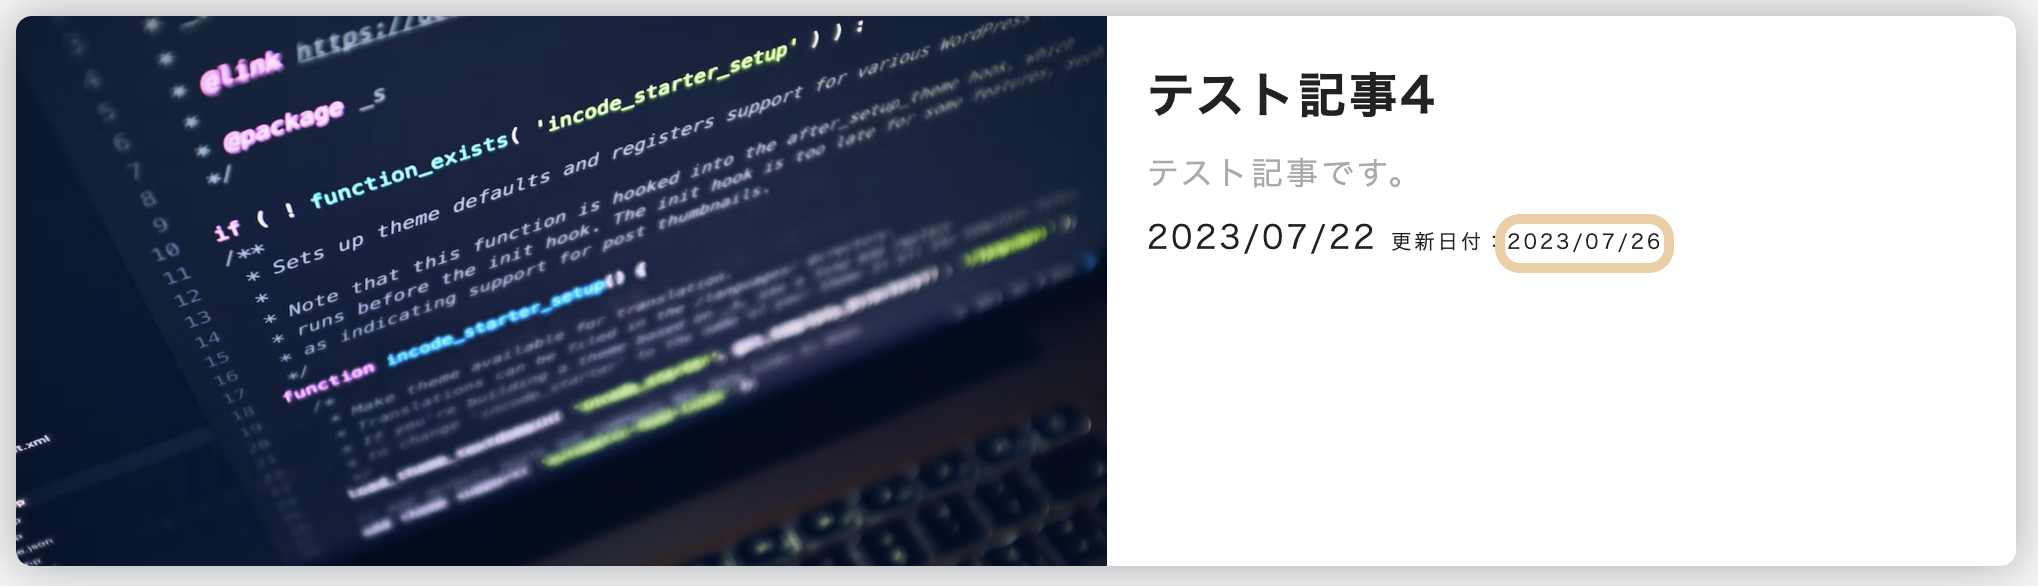
get_the_modified_time() 最終編集日と get_the_time() 記事の投稿日を比較して違っていれば更新日付の横に、更新日を表示。
・・・・・・・・・・・・・・・・・
って感じです。ということで、次はページネーションを作ってみましょう!
ページネーションを作ろう
全ての記事をユーザーが確認できるように、ページネーションを作っていきます。

<php? the_posts_pagination(
    array(
      'mid_size' => 2,
      // 現在ページの左右に表示するページ番号の数
      'prev_next' => true,
      // 「前へ」「次へ」のリンクを表示する場合はtrue
      'prev_text' => __('前へ'),
      // 「前へ」リンクのテキスト
      'next_text' => __('次へ'),
      // 「次へ」リンクのテキスト
      'type' => 'list',
      // 戻り値の指定 (plain/list)
    )
  ); ?>
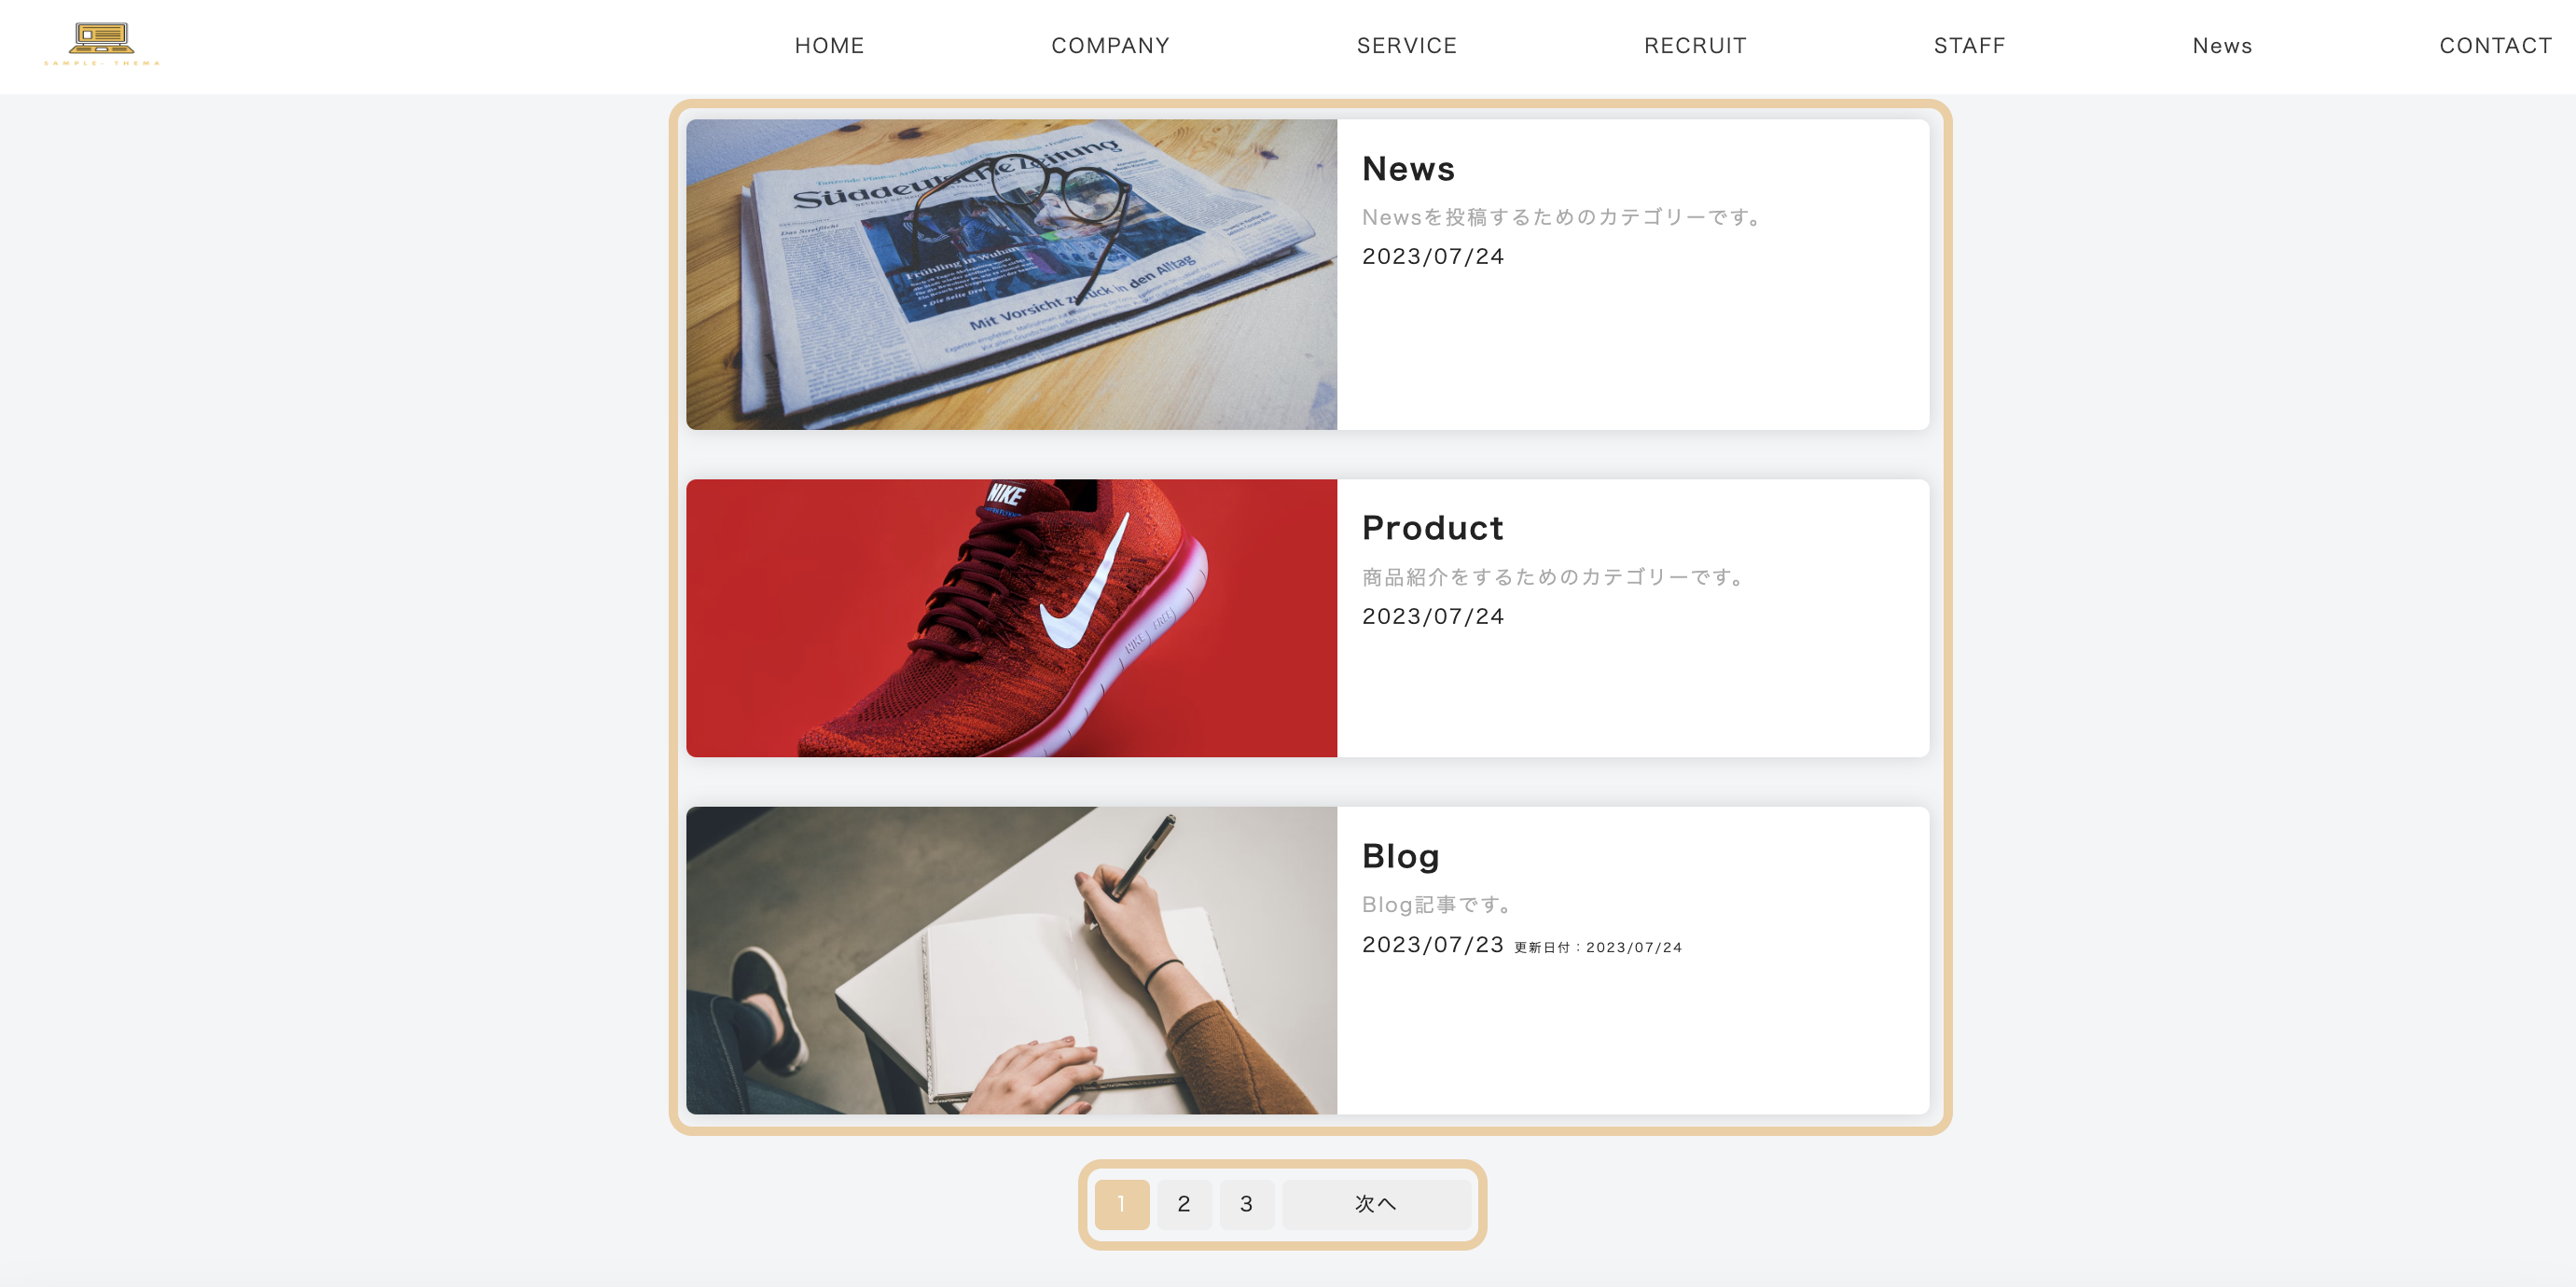
category.phpを作ってみよう
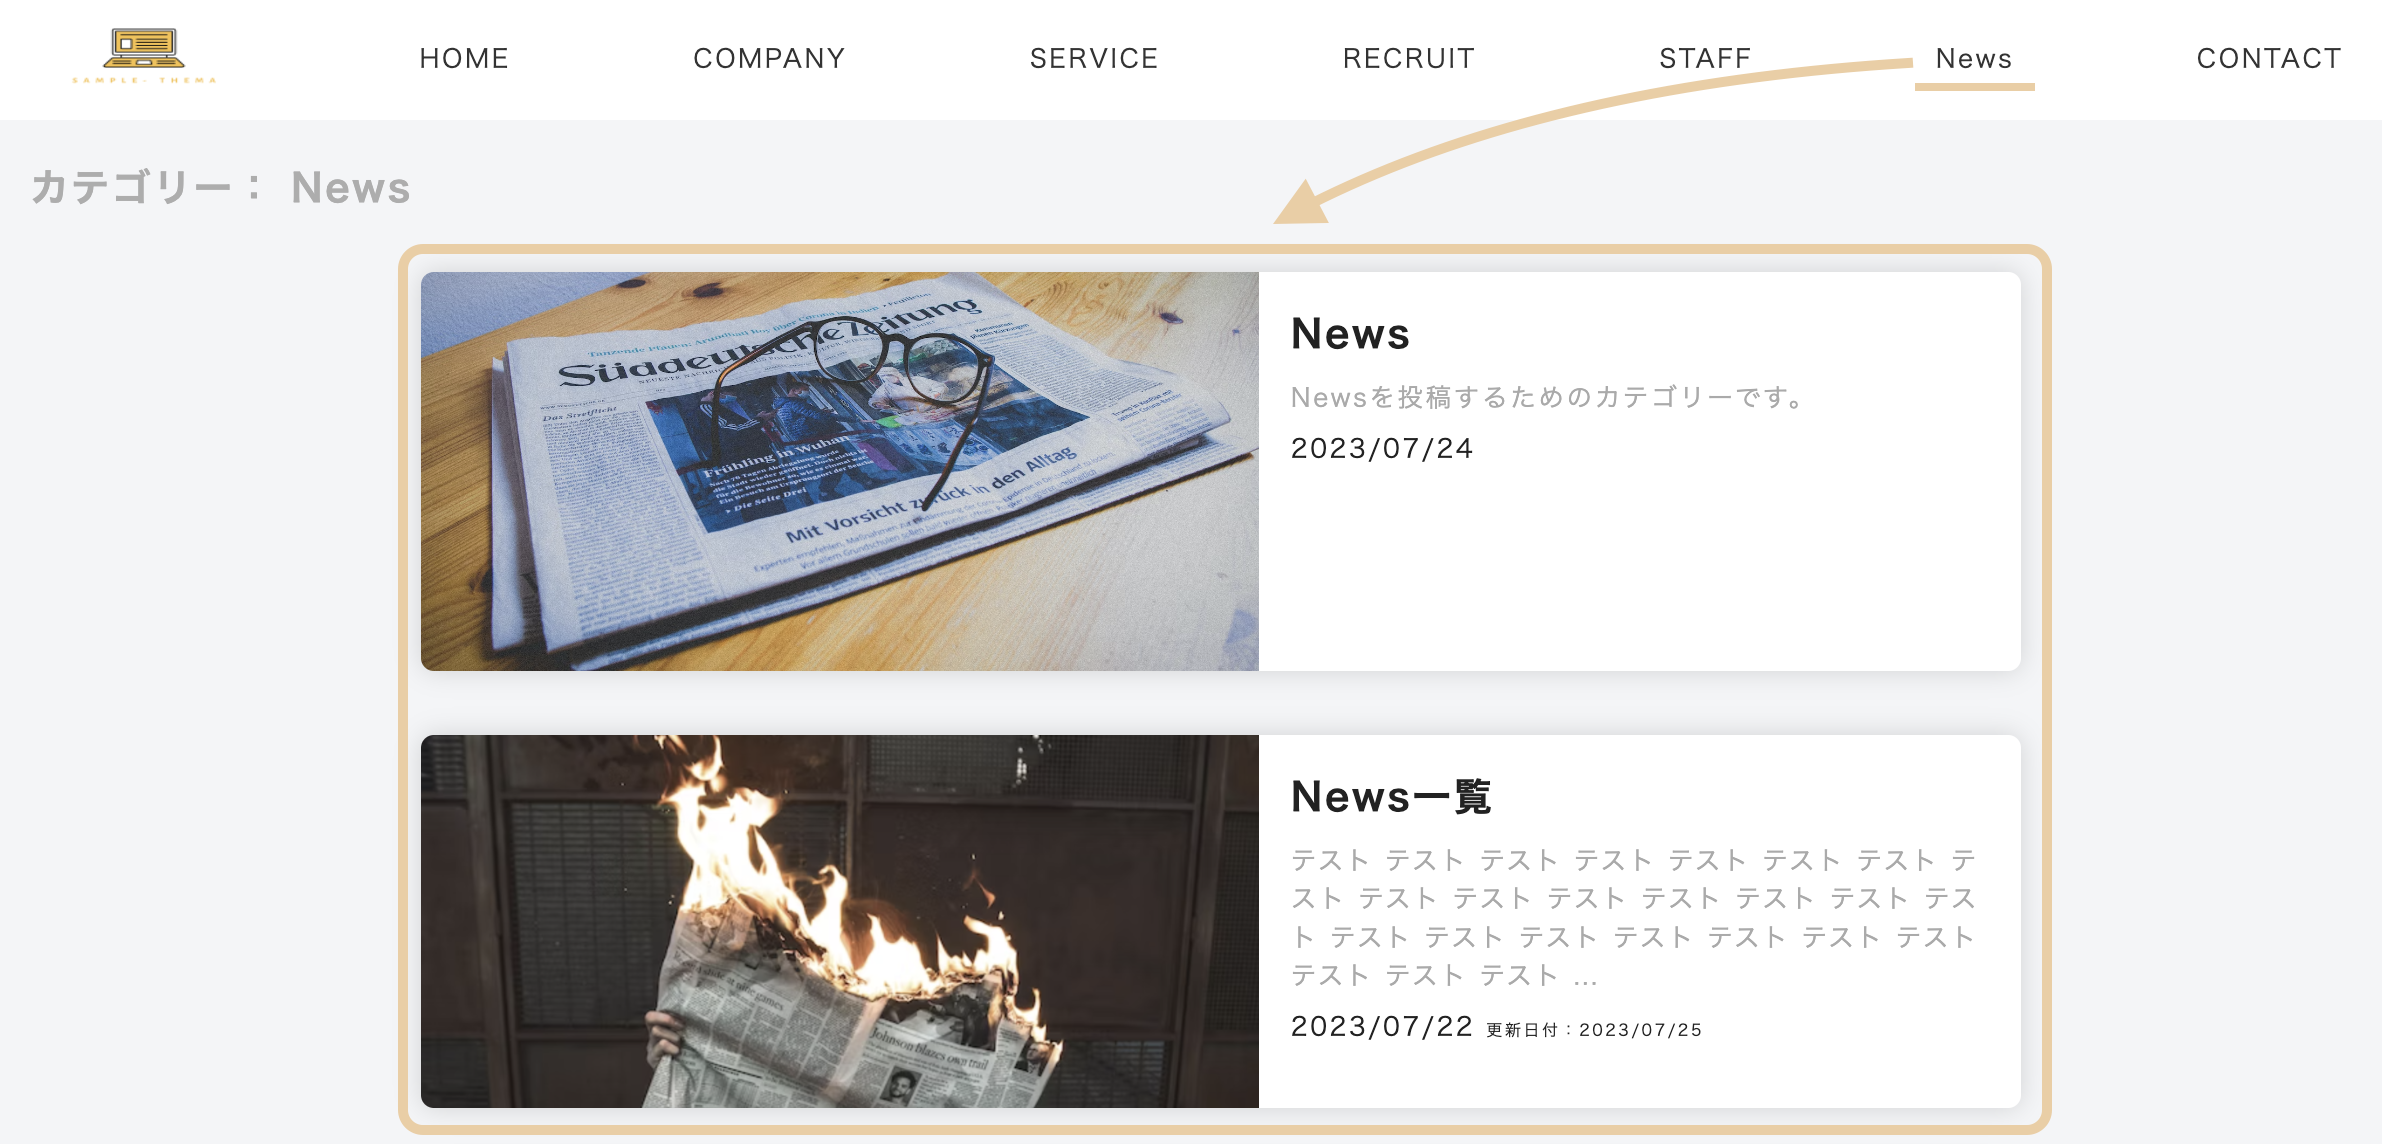
ヘッダーのメニューにカテゴリー(News)を追加し、メニューに追加したカテゴリー(News)を押したら
指定したカテゴリー(News)一覧を表示するようにしたいと思います。
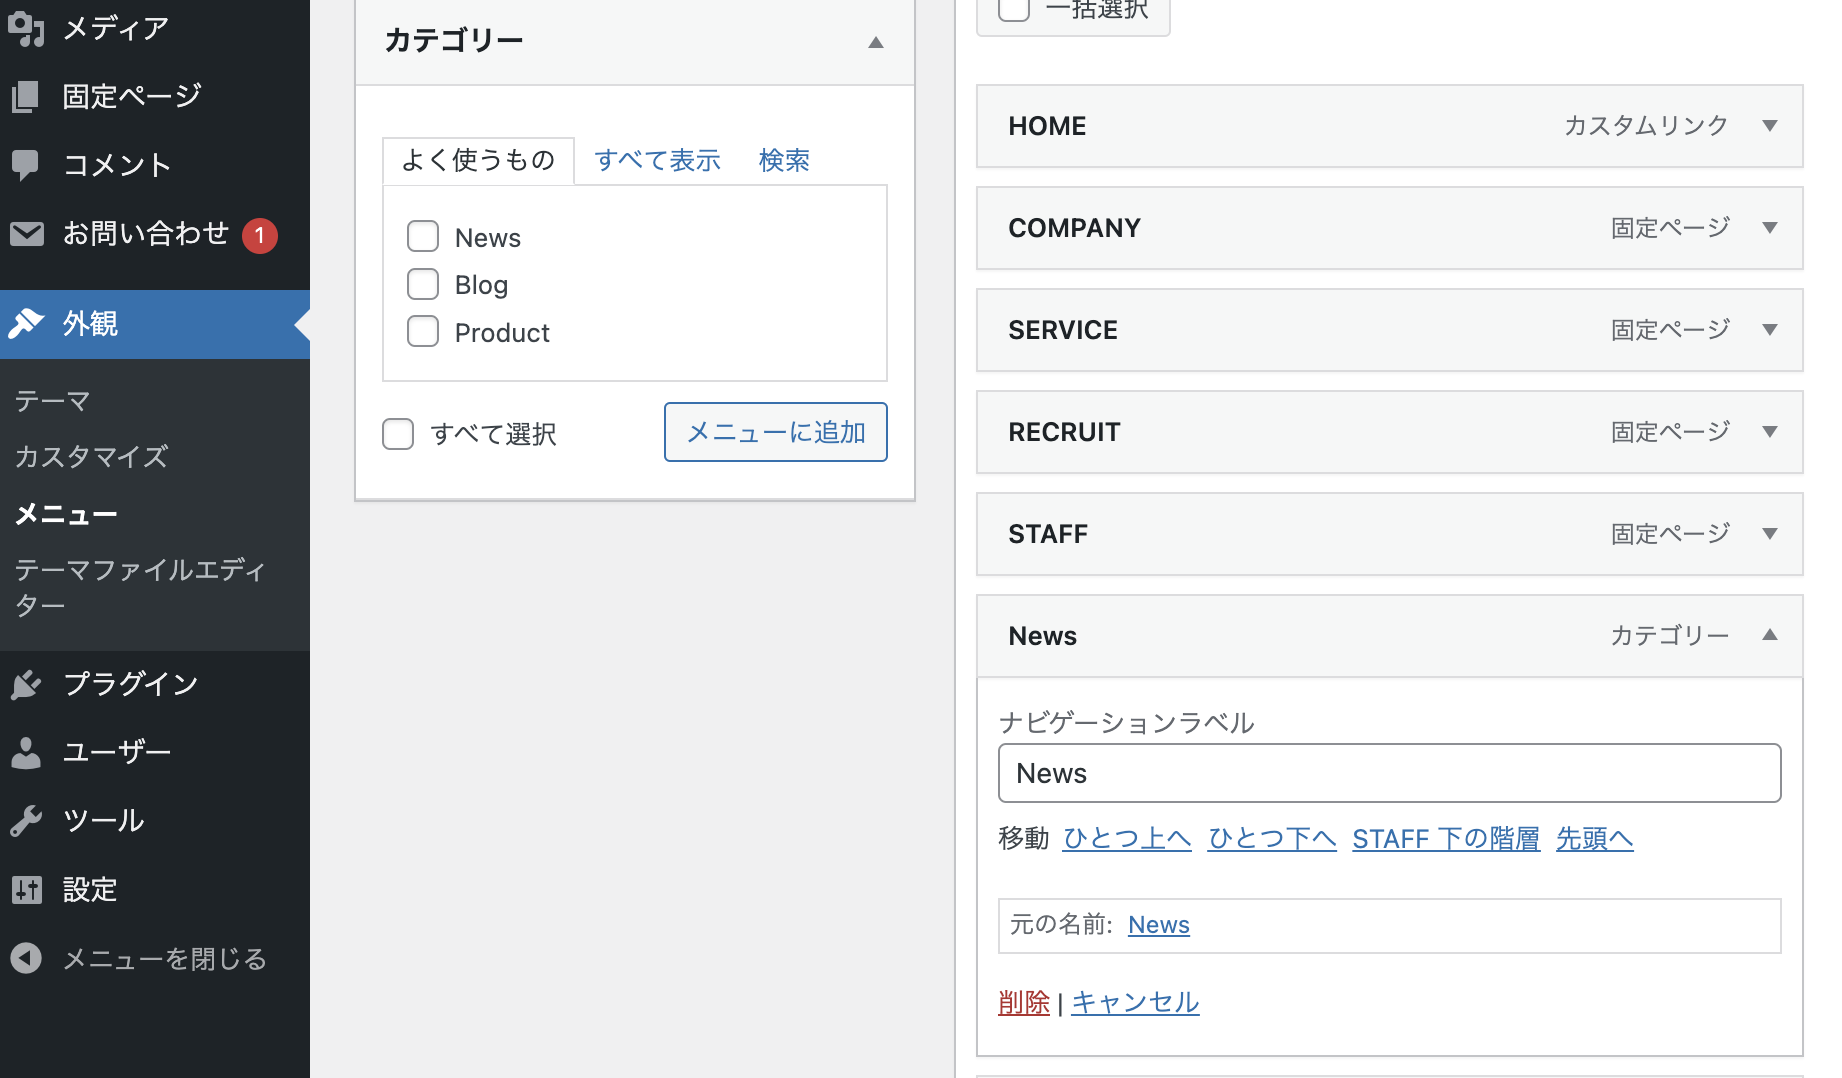
これで、前準備は整いました。
カテゴリー一覧を表示するには、category.phpを追加します。
category.php
<?php get_header(); ?>
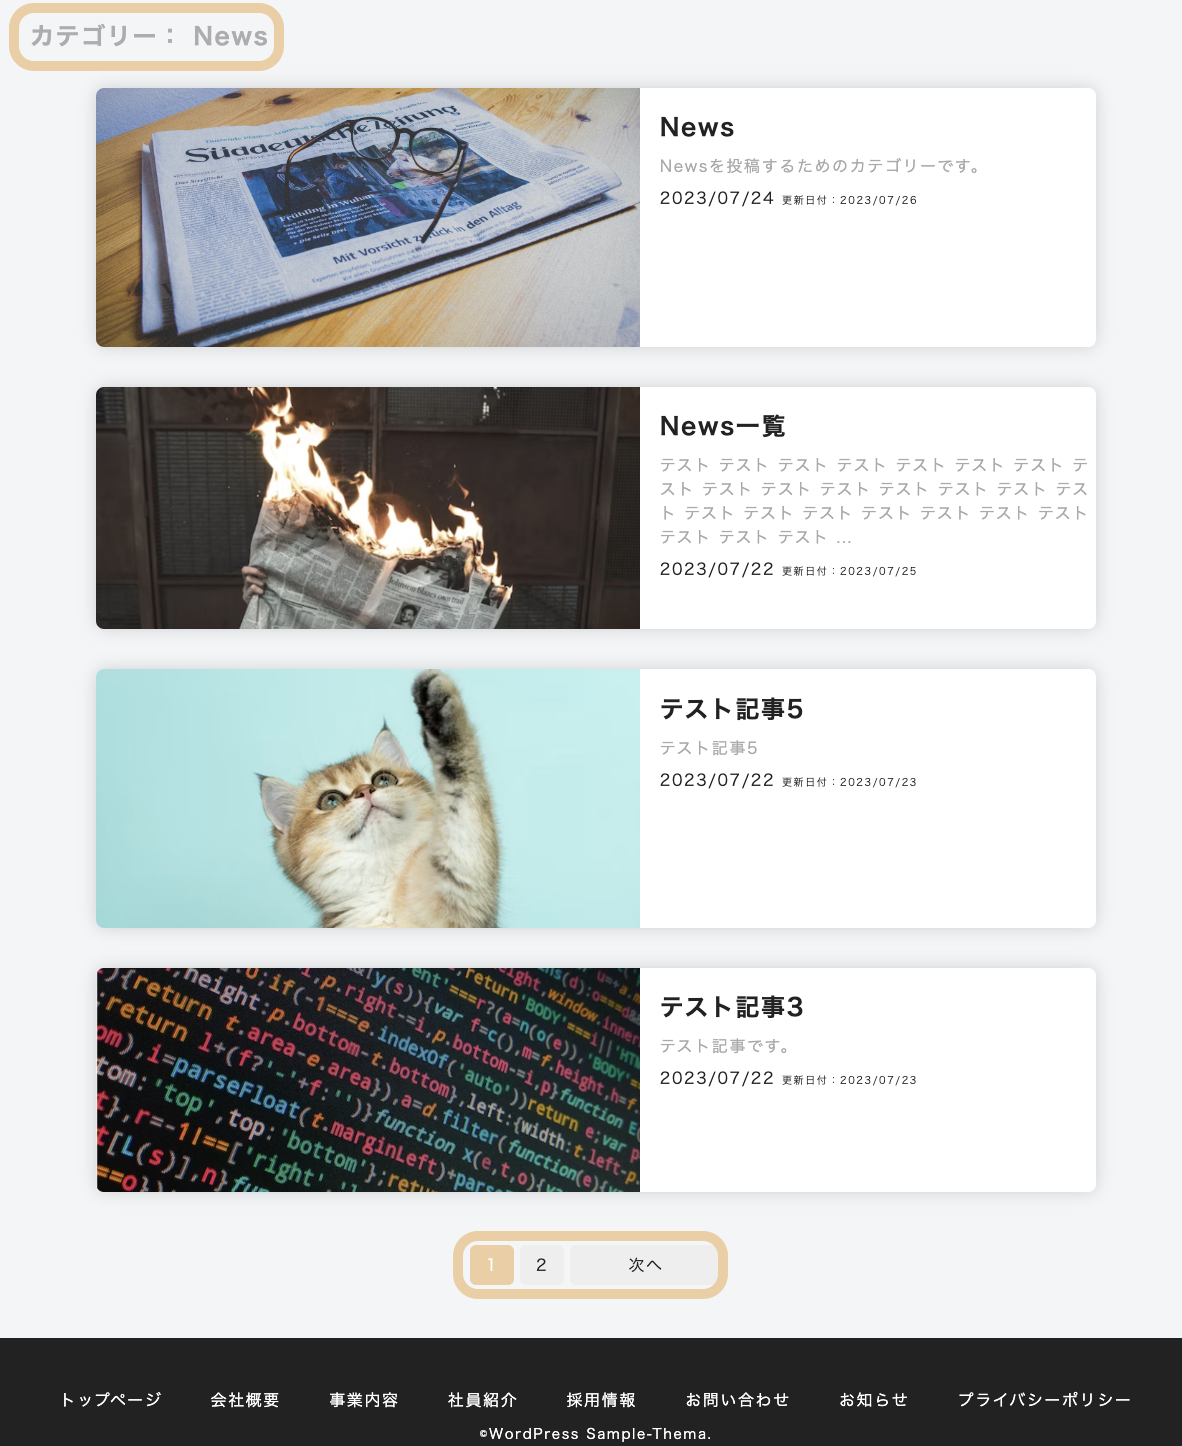
<main id="main">
<h3 class="category_label">カテゴリー:
<?php single_cat_title(); ?>
</h3>
<section class="blog-list">
<div class="blog-list__container">
<div class="blog-list__list">
<article class="blog-list__list-item">
<?php if (have_posts()):
while (have_posts()):
the_post(); ?>
<div <?php post_class("post-wrap"); ?>>
<div class="blog-item__content">
<a href="<?php the_permalink(); ?>" class="blog-item">
<figure class="blog-item__thumbnail">
<?php if (has_post_thumbnail()): ?>
<img class="blog-item__thumbnail-image" <?php the_post_thumbnail(array(1200, 630)); ?>
<?php else: ?>
<img src="<?php echo get_template_directory_uri(); ?>/imges/no-img.png" alt="NoImage">
<?php endif; ?>
</figure>
<div class="blog-item__content">
<h3 class="blog-item__title">
<?php the_title(); ?>
</h3>
<div class="blog-item__read">
<?php
if (mb_strlen(get_the_excerpt()) > 100) {
$excerpt = mb_substr(get_the_excerpt(), 0, 100);
echo $excerpt . '...';
} else {
echo get_the_excerpt();
}
?>
</div>
<div class="post-date">
<span class="post-date-write">
<?php the_time("Y/m/j") ?>
</span>
<?php if (get_the_modified_time('Ymd') != get_the_time('Ymd')) {
echo '<span class="post-date-modified">更新日付:<time>' . get_the_modified_time('Y/m/d') . '</time></span>';
} ?>
</div>
</div>
</div>
</a>
</article>
<div>
<?php endwhile; else: ?>
<div class="post-wrap">
<p>記事が見つかりません</p>
</div>
</div>
</div>
<?php endif; ?>
<?php the_posts_pagination(
array(
'mid_size' => 2,
// 現在ページの左右に表示するページ番号の数
'prev_next' => true,
// 「前へ」「次へ」のリンクを表示する場合はtrue
'prev_text' => __('前へ'),
// 「前へ」リンクのテキスト
'next_text' => __('次へ'),
// 「次へ」リンクのテキスト
'type' => 'list',
// 戻り値の指定 (plain/list)
)
); ?>
</section>
</main>
<?php get_footer(); ?>index.phpと内容はほぼ変わりませんが、上部にカテゴリーのタイトルを表示させるためにテンプレートタグの<?php single_cat_title(); ?>を使っていることとページネーションを追加するために、ループ処理が終わった後に<?php the_posts_pagination( …. ); ?>を記載しています。
ということで、説明は以上になります。
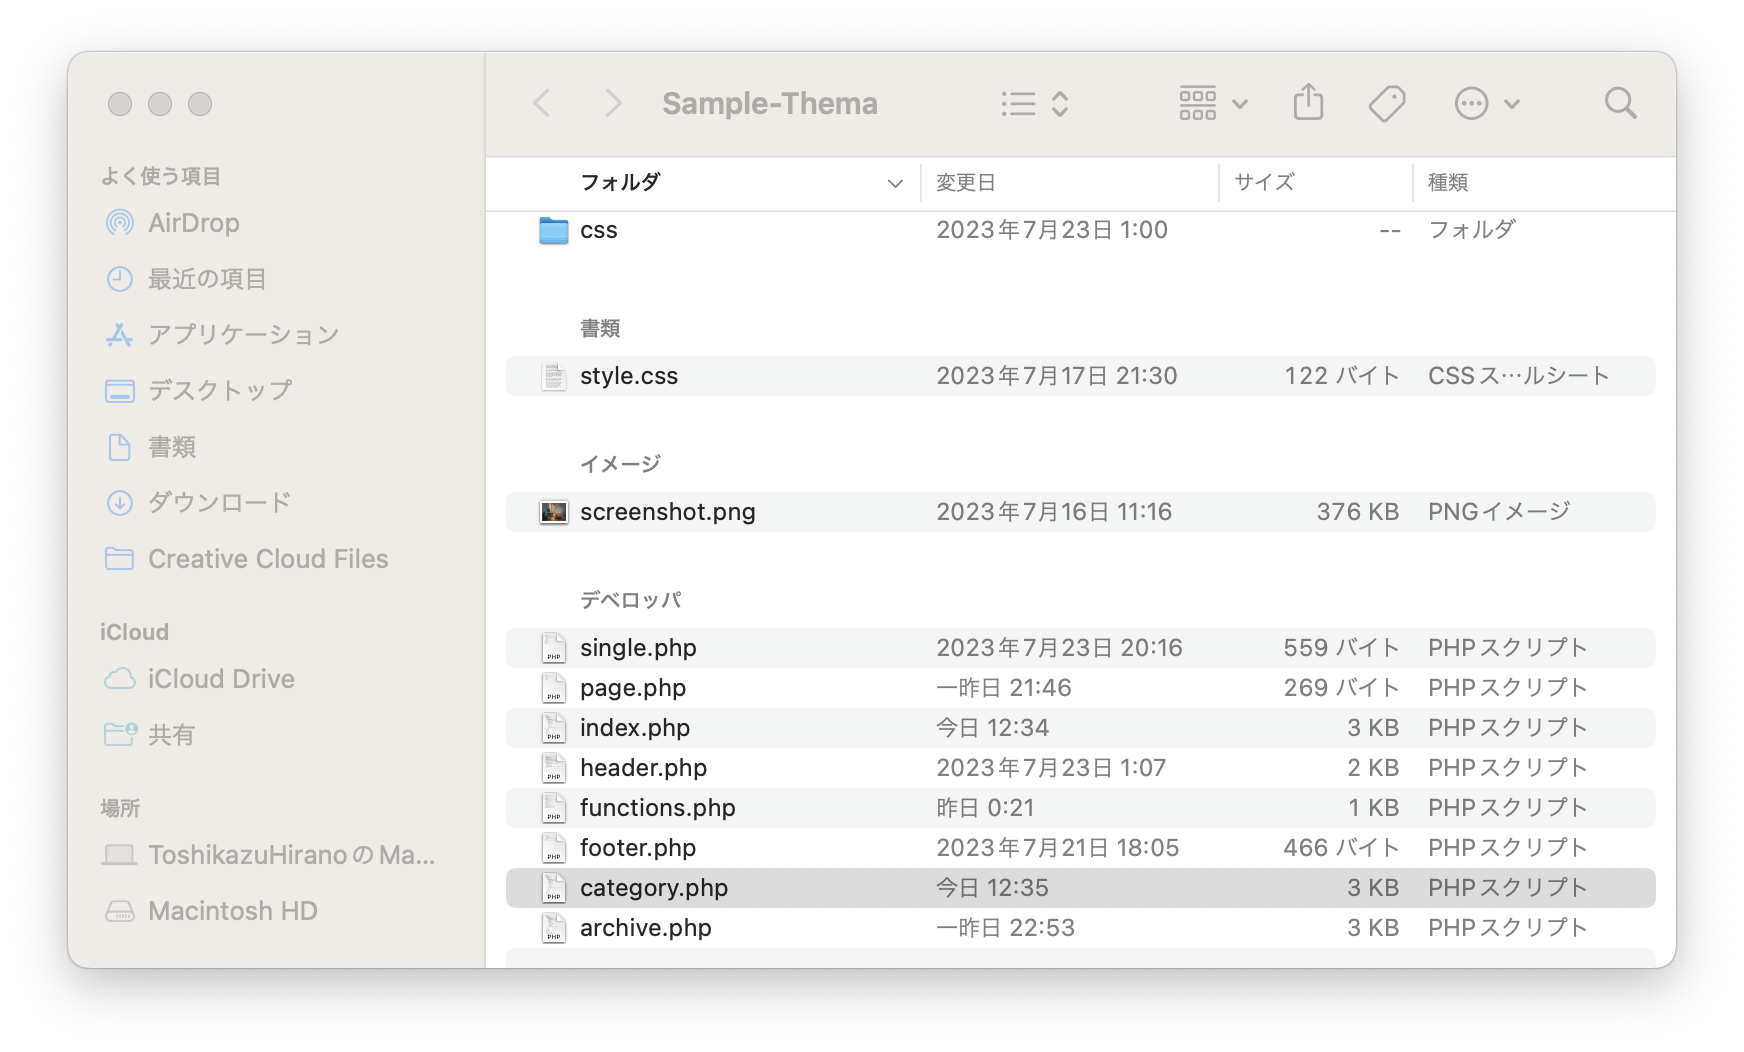
ここまで作ってきたSample-Themaの中身が上のzipになります!
ぜひ、ダウンロードしてみて中身を確認してみてください。
まとめ
いかがでしたか?ちょっと長くなりましたが、投稿した記事を一覧表示する方法についてはわかったんじゃないでしょうか。ぜひ、参考に記事一覧ページを作成してみてください!


コメント